

In my previous articles we learned how to install Docker in Linux and how to run Nginx Web Server with PHP in Docker. The next step is run MySQL server. If you want to know how to run MySQL with PHP in Docker go ahead and read this article.
So we have a running Nginx server with PHP and now we will add a MySQL service to our environment. Of course I prepared docker-compose.yml file for you. The file is available in GitHub. Let’s clone it and see what we have there.
git clone https://github.com/texe/mysql.git#mysql.git
version: '3'
services:
db:
image: mysql:5.7
container_name: mysql
restart: unless-stopped
volumes:
- db_data:/var/lib/mysql
environment:
MYSQL_ROOT_PASSWORD: SecretPass
MYSQL_DATABASE: db_test
MYSQL_USER: db_user
MYSQL_PASSWORD: db_password
ports:
- "3306:3306"
networks:
- labnet
phpmyadmin:
depends_on:
- db
image: phpmyadmin/phpmyadmin
container_name: phpmyadmin
restart: unless-stopped
ports:
- 8080:80
environment:
PMA_HOST: db
PMA_PORT: 3306
MYSQL_ROOT_PASSWORD: SecretPass
networks:
- labnet
#Docker Networks
networks:
labnet:
external:
name: labnet
volumes:
db_data:We have here two containers:
- db
- phpmyadmin
I think you know the most of parameters in this file. If you don’t please read my previous articles. Let’s take a quick look in this file:
image – unfortunately there is no MySQL image with Alpine Linux. I don’t know exactly why, there are some problems.
volumes – we map volume in order to save all data in data base after container will stop. Without this line after stopping container all data in data base will be lost.
environment – here we have some parameters. As I remember we have only one mandatory variable – MYSQL_ROOT_PASSWORD. The rest variables are optional. Full list of these variables you can find on Docker Hub.
depends_on – it means that this container will start up only if the db service is running. In other words phpMyAdmin container will not start up if db container is not running.
environment – like above we have here a few variables and as you guessed one of them is mandatory. Of course I mean MYSQL_ROOT_PASSWORD. The rest variables are optional. All of them you can find on Docker Hub.
Let’s start our containers and see what will happen.
docker-compose up -dAfter opening this address http://localhost:8080 you can login to phpMyAdmin. You can login as root or user (db_user). As root you always will see all databases, as normal user you will see only databases assigned to user.
Now let’s try to install some php application which uses database. For instance WordPress.
Download WordPress, copy all files to our code directory and open localhost website. We have to make basic configuration for database. Remember about database host. Warning! Don’t type here localhost! It will not work! You have to know that our web server is container, it is separate machine and localhost for web server means that it will look MySQL server inside Nginx container. It will not find it there. Instead of this you should type here IP address of your host machine or better – the name of container with MySQL service. We created a network and we can communicate between containers by their names. When we are within Nginx container we can ping mysql and it will work even if you change your local networks (eg. in home you use 192.168.1.0, at work 10.10.5.0 network). That’s why we created network in previous article.
But in this moment I would like you to see our docker images:
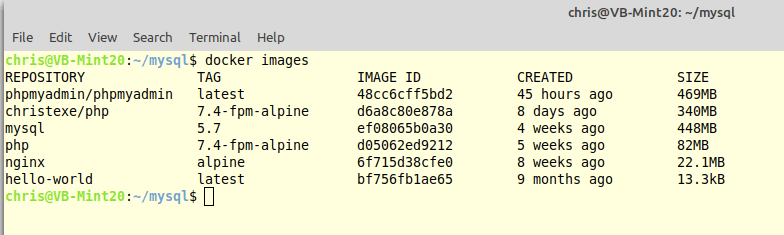 As you see phpmyadmin image is rather big, it takes almost 500 MB. Personally I don’t like big images when I don’t have to use them. I will show you some trick which allow you to save 500 MB disk space.
Option one:
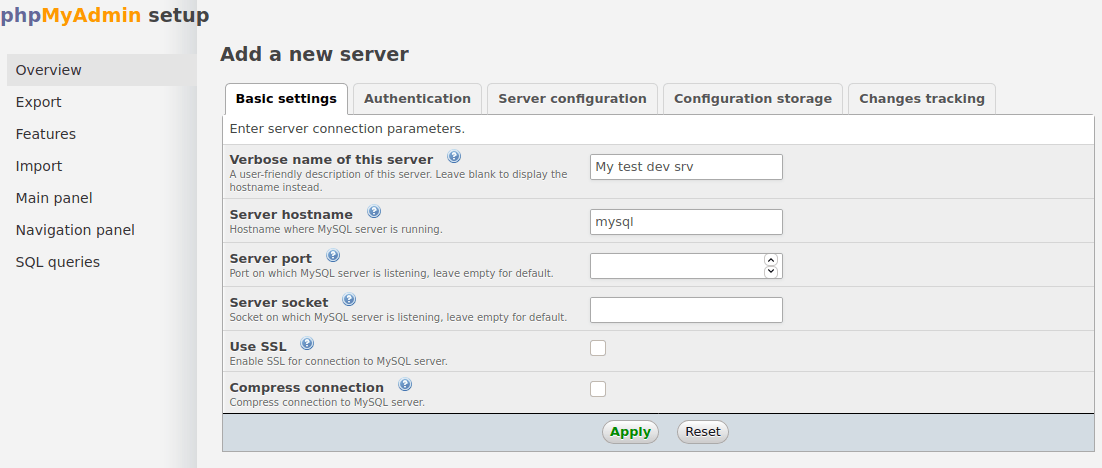
Download phpMyAdmin files and copy them to our code directory (beside WordPress files in separate directory). Change the name of this directory to phpmyadmin and open in your browser http://localhost/phpmyadmin/setup click New server and fill these fields:
Verbose name of this server – any name
Server hostname – mysql (it’s host name our MySQL container)
and click Apply. Next click Download and save the file in phpMyAdmin directory. This is a basic configuration file for phpMyAdmin.
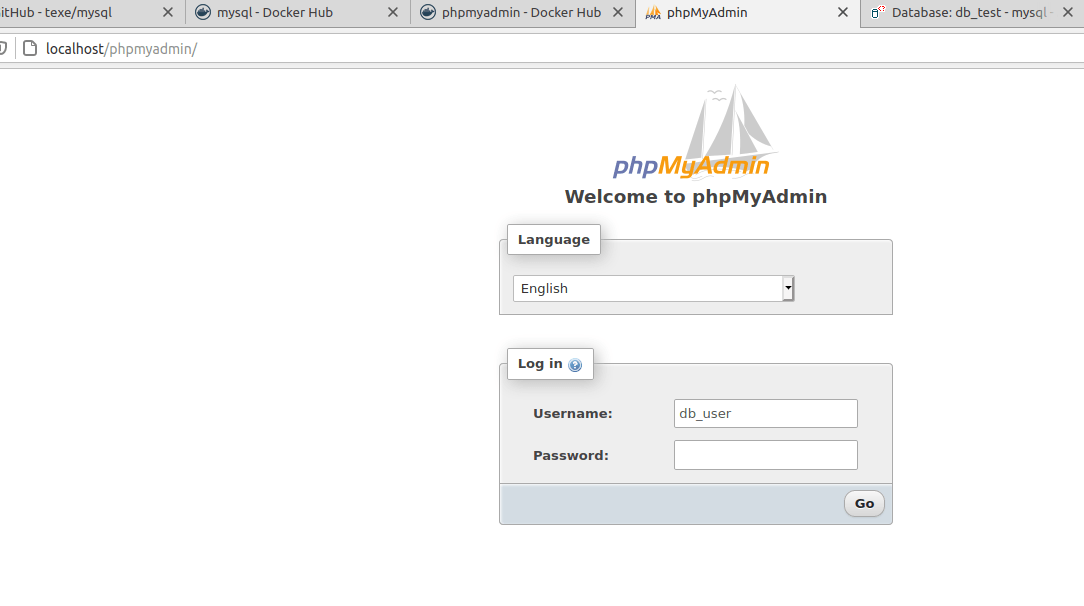
Then you can login to phpMyAdmin here: http://localhost/phpmyadmin You should see login page for phpMyAdmin and you can login by root or our db_user.
Option two:
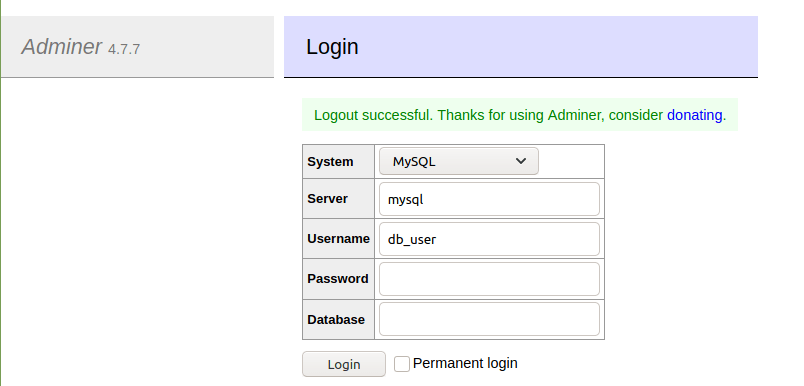
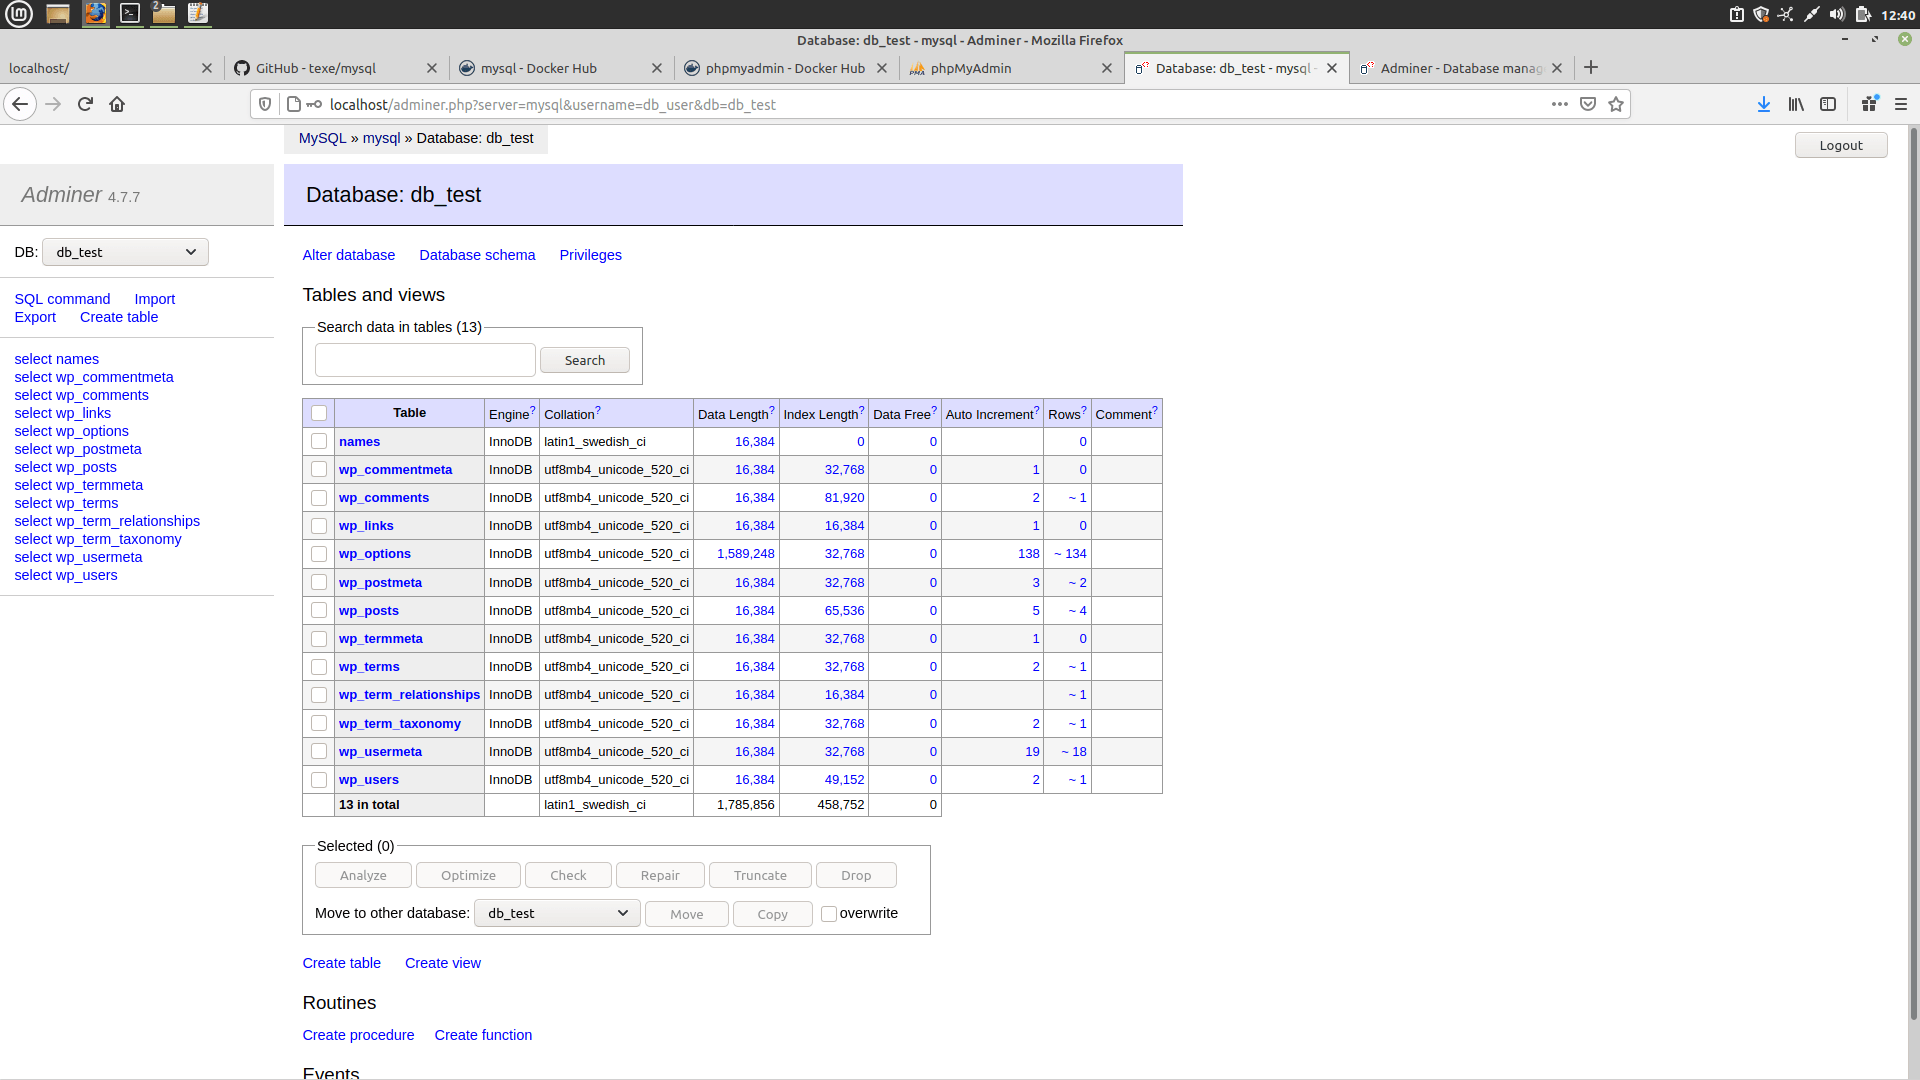
Download adminer and copy it to code directory. Adminer is a one file database management application. It has only 300kb and you don’t have to do anything to run it. Just put it to the web server with php and run it in browser. You can put it into the same directory where WordPress files are. Then open http://localhost/adminer.php and login.
Now you don’t need to pull and run phpmyadmin image. In GitHub repository I prepared file without phpmyadmin. You can run it by command:
docker-compose -f only-mysql.yml up -dOr you can delete existing docker-compose.yml file and rename only-mysql.yml to docker-compose.yml, then you can run it normally by docker-compose up -d command.
Then you will run only MySQL container. The phpmyadmin image is not longer needed. Instead of 500MB of phpMyAdmin docker image we used 300kb adminer.php or 50MB phpMyAdmin.
Recent Comments